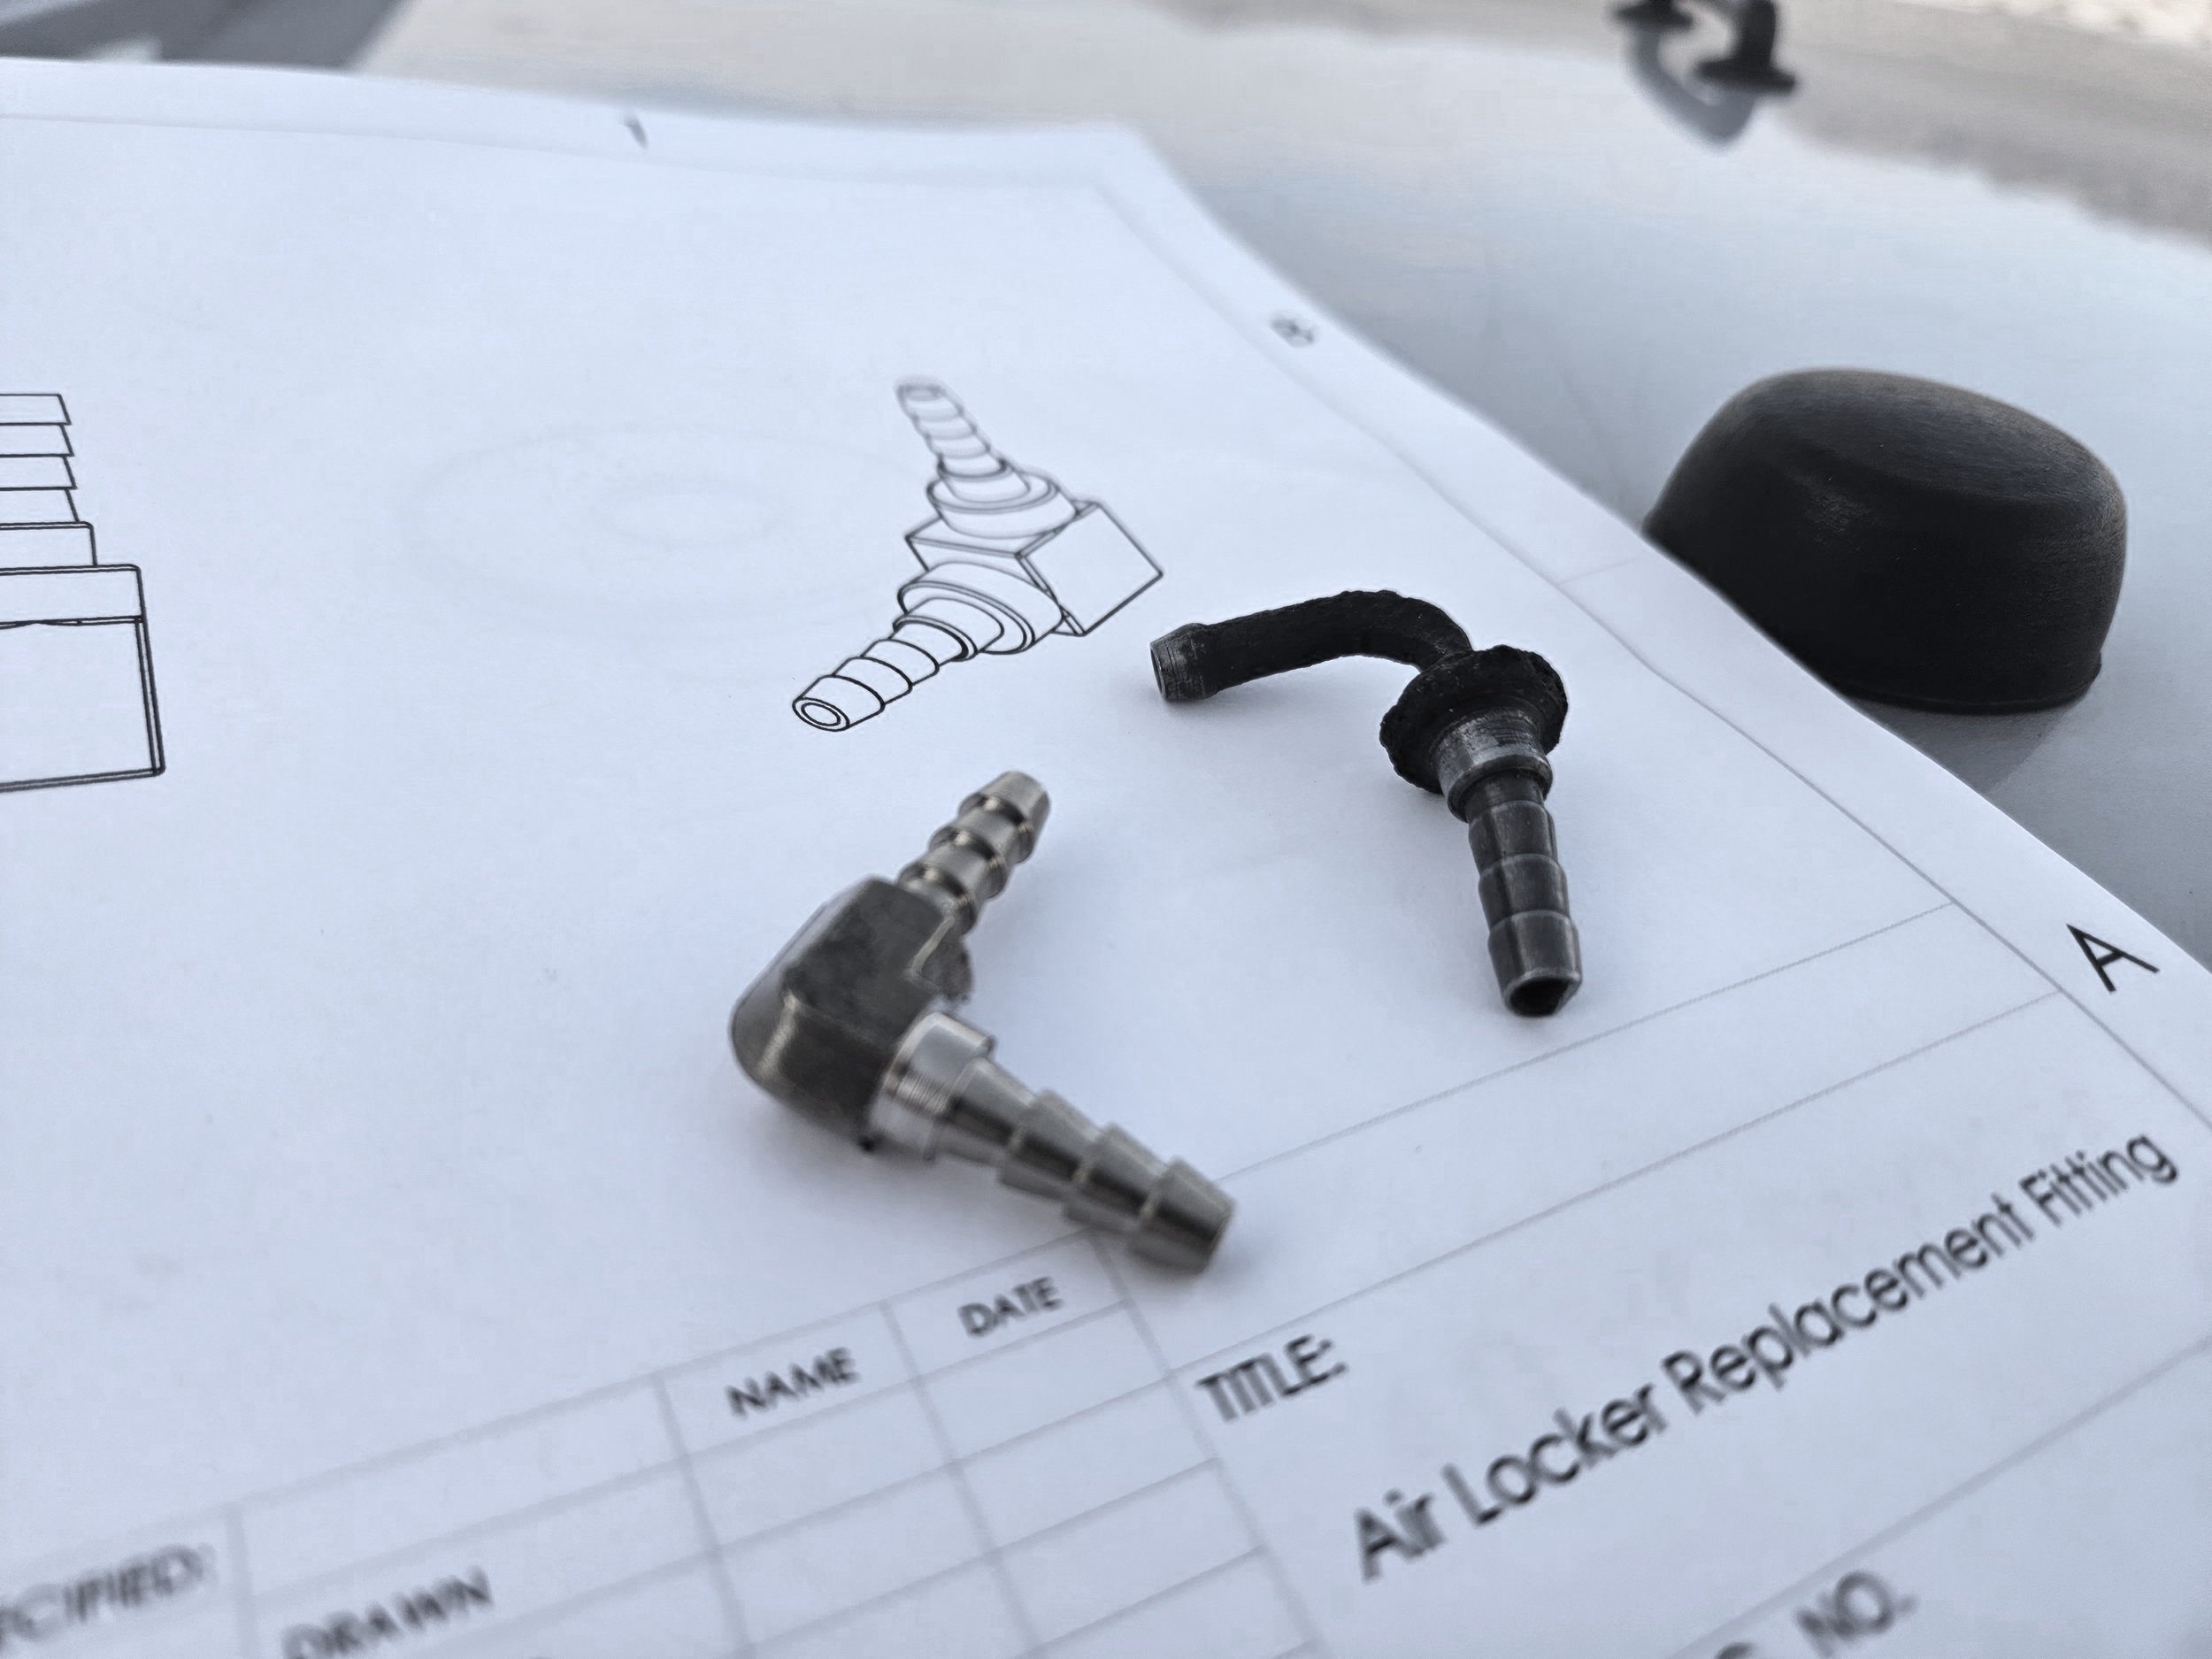
How to: Installation of 2003-2006 Jeep TJ/LJ Rubicon Locker Differential Passthrough of our non-OEM replacement for Mopar Part 5083663AB
Once you have determined that your lockers are not working due to a broken, damaged, rusted out, or otherwise leaking vent passthrough on your differentials, here is how you install our solution.
Instructions:
Gather the following tools and supplies.
a. Tools:13mm socket, rachet, appropriate extensions, gasket scraper, mallet, hammer, punch (I prefer brass), needle nose pliers, if you have it a lady foot pry bar can help, drain pan, a brass brush or brass wire wheel, and plenty of shop rags.
b. Supplies: gear oil (check your manual for weight and quantity), differential cover gasket or gasket sealer, Obsoletejeep.com part OB-5083663AB, solvent or degreaser, penetrating oil if rusty.
If your jeep is rusty, this is the time to spray the outside of the fitting where it is pressed into the outside of the differential with penetrating oil and go have a cup of coffee or crack a beer before moving on to the next step.
Drain gear oil from the differential into a drain pan that you are repairing and remove the differential cover using the rachet/socket and tap the differential cover with the the mallet to dislodge the cover. Once the cover is off, you see the ring and pinion and have access to the interior side of the air locker fitting and hose that runs to the locker. Once you have the cover off, this is a good time to clean (brass wheel or scrape if needed) and degrease the mating surfaces of the differential cover and differential housing to ensure they seal well on reassembly.
Inside the differential, you will see a rubber hose (if it is the OEM part, it is actually labeled fuel line) that runs from the locker assembly to the fitting that you are replacing. Using the needlenose pliers remove the hose clamp from the fitting that passes through the differential housing. You do not need to remove it from the locker side nested in the ring gear, but make sure you inspect the hose for any damage as a leak on this hose will also make the locker not work. This interior hose has also been discontinued by the manufacturer. We offer a replacement if yours is leaking. Our part number for the replacement Axle Vent Hose is OJ- 05083664AA.
Using a long brass punch or a lady foot pry bar, push the fitting from the inside of the differential housing out. Be careful not to damage any of the differential gear teeth or components while pushing out the fitting. It can be a bit tricky but it should come out just fine. Once the fitting is out spend some time degreasing and cleaning up the exterior hole and the surrounding area on the differential where the fitting came out of.
If you have not already, remove the airline from the fitting you have removed. Inspect the airline for damage. If you need to extend the airline (such as if you have a lift kit on your jeep) or replace the whole line or a damaged section, take a look at our universal line repair and replacement kit OJ-LK-5083663AB
It is easier to install the new fitting into the hose at this point. Ensure you note that the machined shoulder (see picture) is pressed into the differential, so install the hose on the other barbed end.
Use the hose to hold the new fitting in place and align with the hole in the differential. Tap with a mallet until the fitting is seated into the differential.
On the inside of the differential reinstall the hose to the fitting while holding the fitting from the outside of the differential as this is a light press fit.
At this point test the locker actuation by placing the transfer case in 4low and press the button to engage the locker. You will hear the pump run and shut off as long as there are no air leaks. The locker indicator light may still flash as the tires must be rotated to get the locker to engage. You will need to put the jeep on jack stands and manually rotate the tires if you wish to verify the lockers engage.
Once you have completed your checks that the system works, reinstall the differential cover (using an appropriate gasket or sealant and torque spec) and refill with specified gear lube. Pro-tip: If you are using gasket sealant apply sealer and after installing bolts and torquing to spec, go take lunch before you put the gear oil back in the differential.
After filling, verify that you have no leaks, test drive, making sure to test the locker system, and reinspect for leaks after the test drive.
And you are done! Move onto the next project on the list. There is always another one. That is part of why heeps are fun!
